


Free US shipping
$0.00 0 pcs
Raw Power: How To Install A New Engine
September 11, 2017

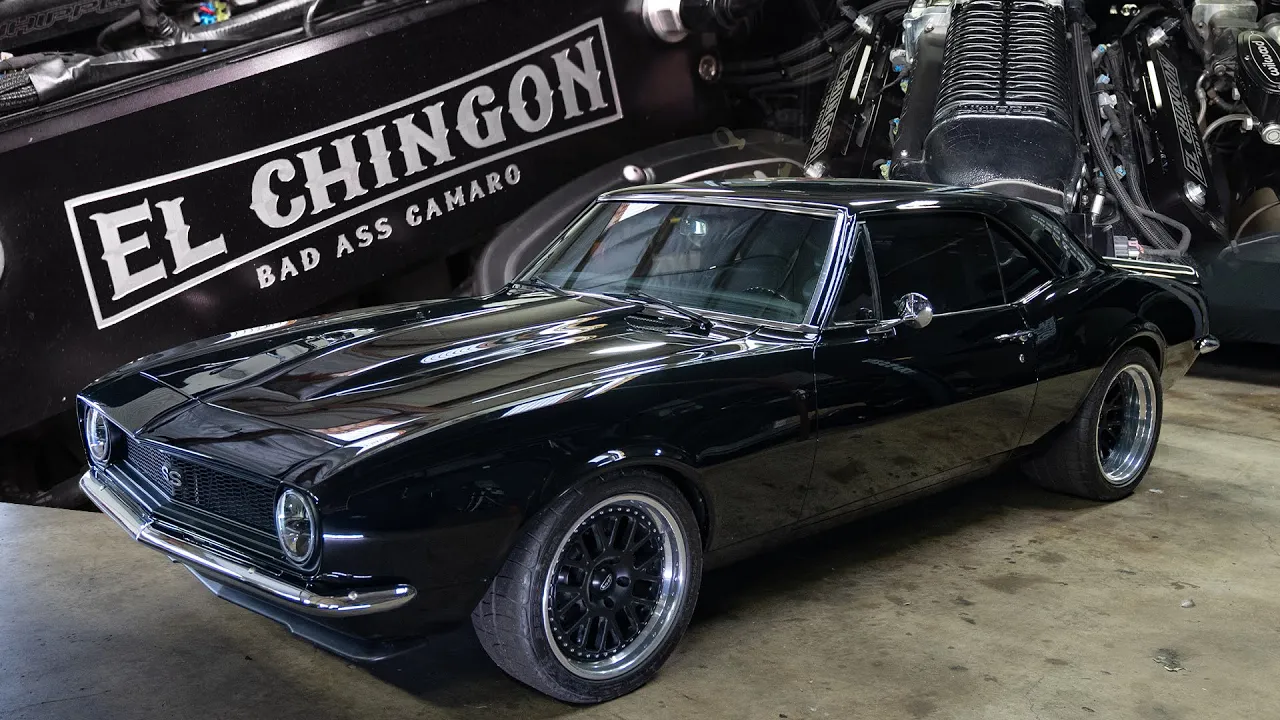
One of the most common restomod improvements that owners carry out is installing a new engine, but if you’re new to the scene this can seem a little intimidating. The engine is the heart of the car, and messing with it can lead to big problems if you don’t know what you’re doing. In this article, I’m going to give you the information you’ll need on how to install your new engine. Once you’ve done this, and you’re happy with it, you could start installing other new parts in your restomod, like transmission, suspension, and disc brakes.
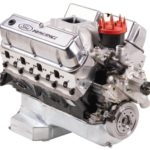
Before we begin, it’s important to note that if your engine is worn out, then other parts likely are too, so you’ll need to get those replaced as part of your restomod project if you want the car to truly be as good as new. A new engine will set you back anywhere from around $1000, all the way up to tens of thousands, but the installation is much the same regardless. If you’re going for authenticity, many manufacturers offer completely new, off-the-shelf engines for more recent cars. If they don’t offer this for your model, you won’t have too much trouble finding rebuilt engines in custom shops, and newer engines can be bought easily online. In this guide, I’ll assume that you’re installing an engine that’s around the same size as the original, and then move on to information you should take into account if you’re installing a larger or more modern one.
What You’ll Need
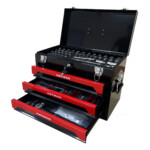
- Standard mechanic’s tools — wrenches, chocks, ratchets, socket set, Allen heads, pliers, etc.
- An engine hoist. If you don’t have one of these, you can rent one for around $40-50 per day.
- A transmission jack
- Coolant
- Oil
Out With The Old

Park on a level surface with a good level of lighting, and throw chocks under the wheels. You’ll want to remove the hood completely, so take the bolts off the hood hinges, and put it to one side. It’s best to have a buddy help you with this part, as the hood will need to be supported while being removed. Unplug electrical cables, and drain oil from the engine and coolant from the radiator. You’ll want to have a reference for reconnecting the cables, so I recommend that you either make detailed notes or take a picture. Then disconnect the coolant lines, with a pan on hand to catch the fluids. Remove the fan, radiator cover and finally, the radiator itself. You don’t necessarily need to do these final steps, but it’s easy to damage these components as you remove the engine.

Locate the hoist points, and attach the chains. Specific hoist points will be specified by the manufacturer. If you don’t have the manual, search online to find specific points for your model. There should be one at each side. Set the hoist to the engine’s weight (Google is your friend here,) and attach the chains to the points, then lock the hoist. Disconnect the intake line from the air filter and throttle body and take it out of the engine bay, and unhook exhaust lines. Unbolt and remove the intake manifold, exhaust manifold, and fuel injectors. Unbolt the transmission by removing the bolts joining its housing to the engine, with a jack positioned to hold it. Remove the bolts bit by bit, equally, rather than removing them one at a time, to avoid putting too much pressure on a single bolt. Finally, remove the mount bolts from the engine. You can now safely remove the engine from the car.
In With The New

It’s time for the engine hoist to shine again. Attach the new engine by reversing what you did to the other, lowering it onto its mounts, and over the transmission, before rebolting the mounts. Make sure you keep the engine aligned as it is lowered, else you’ll be at this a long time. Rebolt the transmission (you can find out the necessary torque for the bolts in the manual), exhaust manifold, intake manifold, and hoses. Reconnect the wires and cables to the engine, and check that spark plugs are installed as standard. Reinstall the radiator, and hook up the coolant lines, and refill the radiator with coolant and the engine with oil.
If this is your first time installing an engine, it could take you all day, so set aside a weekend or a holiday when you won’t mind getting dirty, scraped and acquiring aches and pains. You know what they say: no pain, no gain.
Bigger, Better, Faster, Stronger

Installing an engine of the same size, while no mean feat, isn’t too difficult with practice. Where it gets harder is when you want to fit a bigger engine than the car originally had. I’m not going to lie, fitting a bigger engine is only a job for people who really know what they’re doing. Depending on its size, new engine mounts may need to be fitted, or the frame/hood cut to allow it to fit. It’s not for nothing that you see hot rods with huge blowers sticking out through the hood, or entire engines exposed. There’s also the fact that you’ll want the transmission lined up accurately, which may necessitate fitting new transmission. As I said at the beginning, this is sometimes necessary anyway, especially if it’s never been changed before, but be aware of it if you have fantasies of throwing a big block V8 in there.
There’s also the fact that wiring may be dramatically different between the original engine and the new, larger/more powerful one, which can be a massive pain to get fixed. You’ll also need better cooling capabilities, and maybe even new suspension. That’s not at all to say it’s impossible, not at all. Many drivers (particularly street racers of all stripes) have done it across the years. There’s a thrill to being an undercover speedster, knowing that your machine has far more power than another driver would assume. It is, however, a job for an expert. That could well be you. Maybe you have years of experience in modding, but if not, take it to a shop. Engines aren’t cheap, and you don’t want to either waste your money or damage it.
Recent Posts
-
1970 Charger Showdown: Classic RT/SE Hemi vs. RestoMod Hemi
June 23, 2025When it comes to American muscle, few cars have captured the hearts of enthusiasts and dominated the silver screen like the Dodge Charger. From…Read more -
The RM30 1970 HEMI Dodge Charger RestoMod
April 22, 2025The 1970 Dodge Charger is one of the most iconic silhouettes in American muscle car history and RM30 takes that legacy to the next level.…Read more -
RestoMods Garage Update
February 11, 20251967 Chevrolet Chevelle (Ground Up Restoration) The 1967 Chevelle 427 is coming together, now sitting on a Roadster Shop chassis that completely transforms its handling…Read more
Become a Car Club Member
Car Club Members Get Entries to Win, Discounts in our Shop, Discounts with our Preferred Partners and more!
Membership benefits
By joining the RestoMods Car Club Today, you will receive amazing perks plus 15 bonus entries into our sweepstakes for every month you are an active member
-
Auto Discounts:Curated Discounts From Your Favorite Parts Companies
-
Restomods Monthly:Monthly Magazine With The Latest Industry News
-
Classified Ads:Get Free Postings seen by 300,000 enthusiasts monthly
-
Car Show Tickets:Check out the biggest vintage car shows on us.
-
Exclusive Car Deals:First chance to purchase any prize cars not selected
Some of our discount partners
Restomods on Instagram
Follow us on Instagram and other networks
